Taming the Experience Editor: Customizing Placeholders
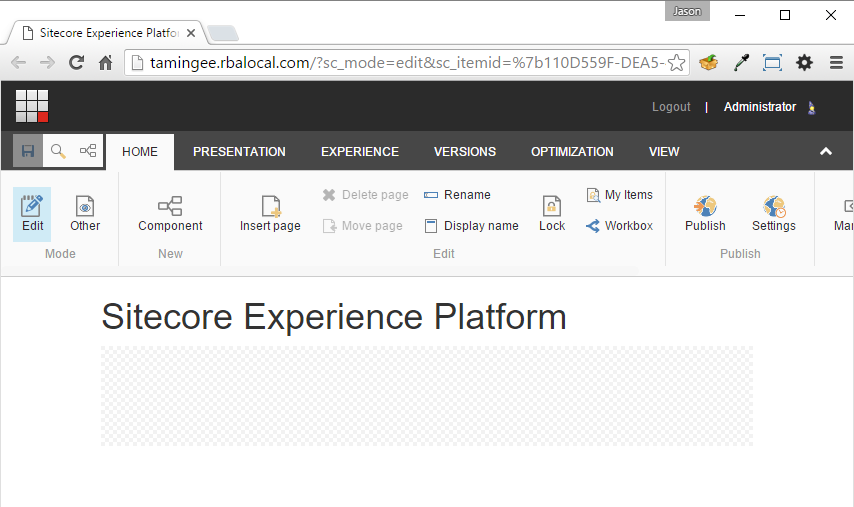
One of the (many) key differentiating factors that sets Sitecore apart from many other CMS platforms is the Experience Editor. The Experience Editor is Sitecore's WYSIWYG editor, providing content authors the opportunity to edit content within the context of the page, layout the page, etc... It's quite a powerful tool. All that being said, however, there is always room for improvement. As with everything else within the platform, Sitecore has provided us a method to customize the Experience Editor to make it more useful to content authors.
In the first post of this new series, Taming the Experience Editor, we're going to look at Placeholders. Placeholders are Sitecore's way to allow authors to place components (or renderings) in certain places on the page.
A layout designer can specify regions of the page into which authors can place a variety of components. This can be very helpful, but as you start adding more and more components to placeholders on a given page, it becomes confusing where you're placing what - especially if you're nesting placeholders.
Take this scenario, for example:
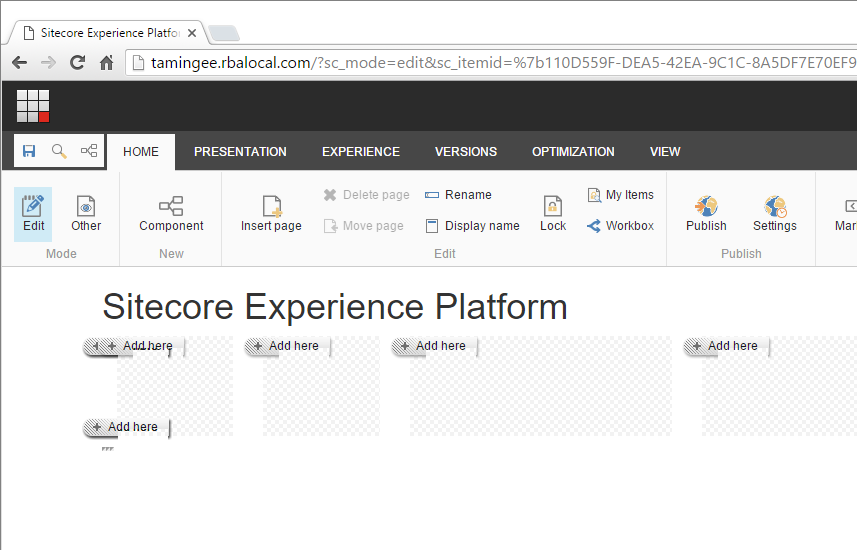
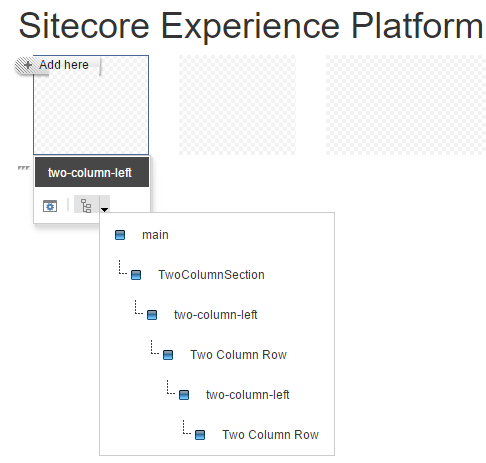
Here, I have added three layers of placeholders to subdivide my page. When I click on Component to pop up the +Add here button, I get some stacking of buttons. It gets even worse if you have small blocks of content! Of course, you can always select the placeholder and use the Parent button to traverse back up the ancestor placeholders/components tree but, visually, it could be better.
A colleague of mine here at RBA, Nick Daigle, implemented a little bit of code on one of his projects to help separate or better define, visually, the layering and hierarchy of components and placeholders. Once we're done, it'll look more like this:
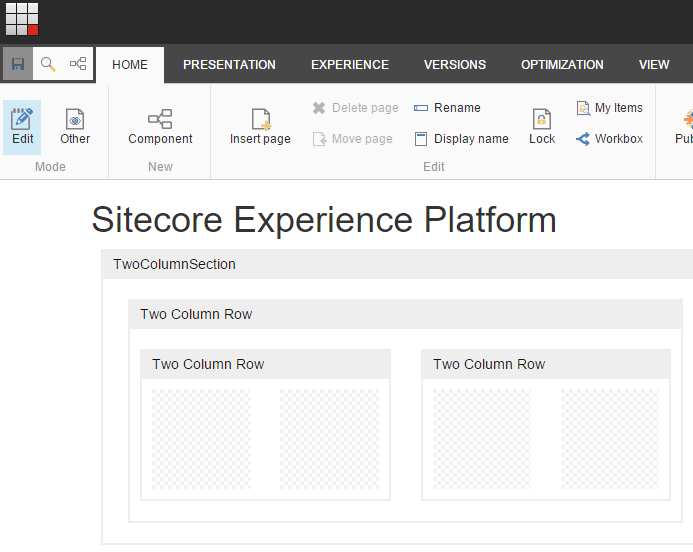
Better, right?? Now, you can clearly see the relationship amongst placeholders and content. So, how do we achieve this sorcery?
The code
We start by adding a new class that inherits from Sitecore.Mvc.ExperienceEditor.Presentation.Wrapper.
public class EditorRenderingWrapper : Wrapper
{
   public EditorRenderingWrapper(TextWriter writer, IMarker marker)
         : base(writer, marker)
   {
   }
}
Next, we create two new processors that implement RenderRenderingProcessor.
public class AddEditorRenderingWrapper : RenderRenderingProcessor
{
   public override void Process(RenderRenderingArgs args)
   {
      if (args.Rendered || Context.Site == null || !Context.PageMode.IsExperienceEditorEditing || args.Rendering.RenderingType == "Layout")
      {
         return;
      }

var marker = GetMarker(args);
      if (marker == null)
      {
         return;
      }

args.Disposables.Add(new EditorRenderingWrapper(args.Writer, marker));
   }

public IMarker GetMarker(RenderRenderingArgs args)
   {
      var renderingContext = RenderingContext.CurrentOrNull;
      IMarker marker = null;
      var renderingItem = args.Rendering.RenderingItem;

if (renderingItem != null)
      {
         marker = new EditorComponentRenderingMarker(renderingItem.Name);
      }

return marker;
   }
}
Finally, we create an instance of IMarker. This is what will actually add the chrome around our rendering.
public class EditorComponentRenderingMarker : IMarker
{
   private string _componentName;
   public EditorComponentRenderingMarker(string componentName)
   {
      _componentName = componentName;
   }
   public string GetStart()
   {
      string formatstring = "

{1}
";
      return string.Format(formatstring, _componentName.Replace(" ", string.Empty), _componentName);
   }
   public string GetEnd()
   {
      return "

";
   }
}
Next, we do a little patching. We want to patch our new processors in after Sitecore.Mvc.ExperienceEditor.Pipelines.Response.RenderRendering.AddWrapper, but before Sitecore.Mvc.Pipelines.Response.RenderRendering.AddRecordedHtmlToCache.
Lastly, we throw in a little CSS and a conditional class to our tag.
body.edit-mode .component-wrapper {
  border: 2px solid #EEE;
  border-top: none;
  box-sizing: border-box;
  margin: 10px;
  overflow: hidden; }
  body.edit-mode .component-wrapper span.wrapper-header {
    display: block;
    color: #111;
    background-color: #EEE;
    height: 30px;
    line-height: 30px;
    padding: 0 10px;
    font-size: 14px;
    font-family: Arial, sans-serif;
    }
  body.edit-mode .component-wrapper .component-content {
    padding: 10px;
    min-height: 50px; }
    body.edit-mode .component-wrapper .component-content .component-wrapper {
      margin: 10px 0; }
@Html.Sitecore().Field("title")

      @Html.Sitecore().Placeholder("main")
That's all there is to it!
All of the source code can be found on github and, as always, I welcome feedback!
Happy Sitecore trails, my friends!