MVC Areas in Sitecore 8.1: A Step-By-Step Guide
One of the new, exciting features of Sitecore 8.1 is native support for MVC Areas. While many in the community have been implementing their own version of this for a while, it's really nice that it's now native to the platform. If you're running multiple sites within a single instance, or if your application is large enough to consider breaking down into modules, MVC Areas are a natural fit! While MVC Areas have been around since the earliest days of MVC, for many, they are still a mystery. Below is a step-by-step guide for creating a (very simple!) multi-site Sitecore instance leveraging the organizational power of MVC Areas. Getting Started I started with a clean, base install of Sitecore 8.1 and a new ASP.NET MVC 5 website. Other particulars about my environment:
- When running Sitecore locally, I add a suffix of rbalocal.com to all of my instances.
- I will be creating three sites
- sc81areas.rbalocal.com
- sc81areas-site1.rbalocal.com
- sc81areas-site2.rbalocal.com
- I have added entries in my hosts file for the above names so that they resolve to 127.0.0.1
- I have configured the host headers in IIS to accept requests from all of those domains
To start, let's create a new Area for our Sitecore site called Site1. Right click on your web project, select Add->Area. 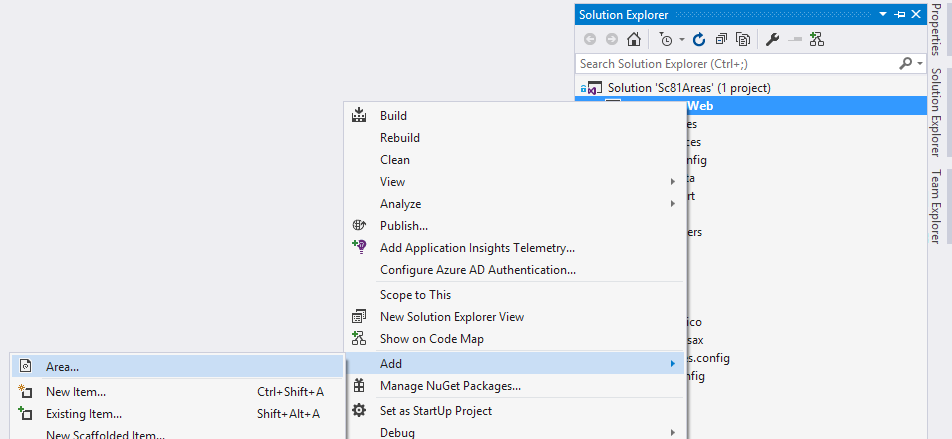 This creates the scaffolding for the new area.
 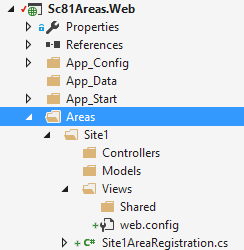 In the Site1AreaRegistration class, remove the default route from the RegisterArea method.
public class Site1AreaRegistration : AreaRegistration
{
    public override string AreaName { get { return "Site1"; } }

    public override void RegisterArea(AreaRegistrationContext context)
    {

    }
}
Now, repeat the above steps to create a new area called Site2. Once you have created both areas, publish the code to your web root. This will put the folder structure in place for us to create our layouts in Sitecore. Creating the Layouts Because Visual Studio doesn't publish empty folders, we need to create a couple of folders in the web root. So, after the publish is complete, open Windows Explorer, navigate to your web root and create a folder called Shared in both 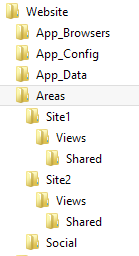 After these folders have been created, open the Sitecore Content Editor and create two new Layout Folders under /sitecore/layout/layouts called Site1 and Site2.
 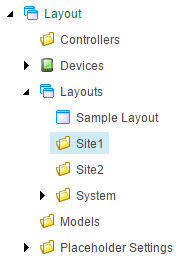 Once these have been created, right-click on Site1, choose Insert->MVC Layout to create a new MVC Layout (also an update in 8.1!).
 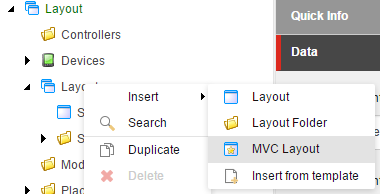 Name this new layout Site1DefaultLayout and click Next. In the Location dialog, select the Site1 Layout Folder you just created and click Next. In the File Location dialog, navigate to the Shared folder you created for Site1 in your web root.
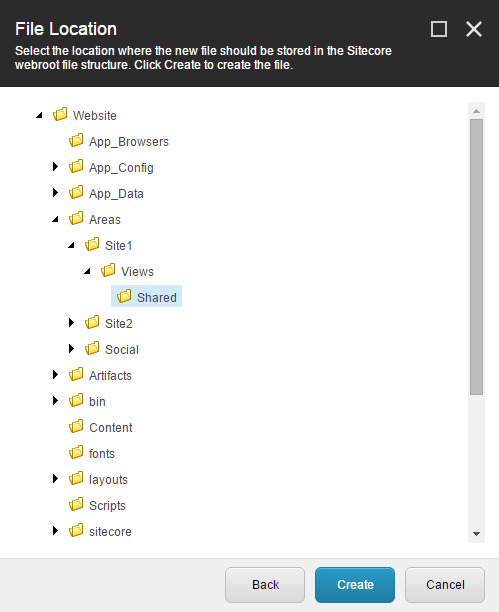 After clicking Close to close the wizard, your new MVC Layout is selected. In the Area field on the right hand side, enter the name of your area. In this case, Site1, and click Save.
 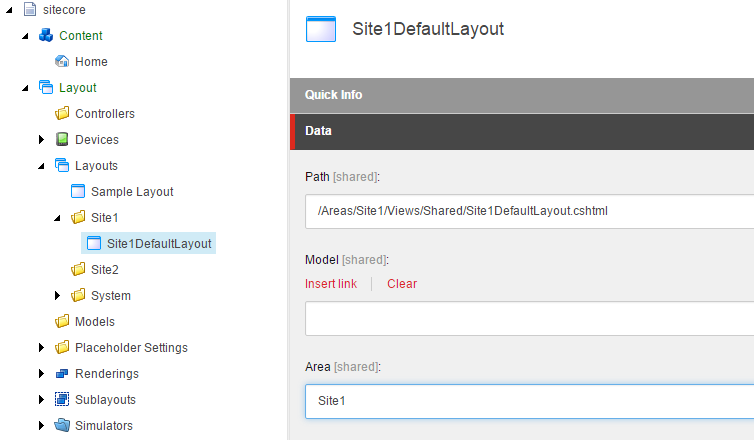 Perform these same steps to create a new MVC Layout for Site2 called Site2DefaultLayout. Creating the Templates Now, let's create Template Folders for Site1 and Site2 in /sitecore/Templates. Right-click on Templates and select Insert->Template Folder.
 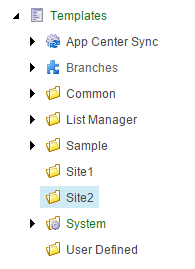 Right-click on Site1 and select Insert->New Template and name it Site1Template. On the Builder tab, configure the template with the following fields and click Save:
 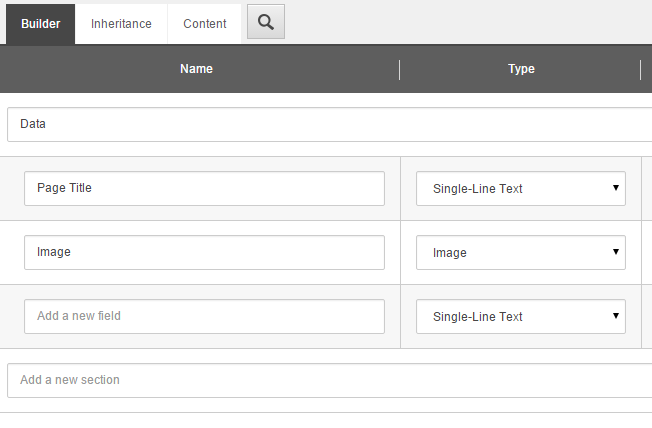 Now, create a __Standard Values item for this template by clicking on the Options tab in the Ribbon, then click on the Presentation tab, then the Details Button. Let's set the default layout we created earlier. On the Shared Layout tab, click on the Edit link of the Default device. In the Device Editor dialog, on the Layout tab, click the empty dropdown and select Layouts\Site1\Site1DefaultLayout and click OK and OK once more.
 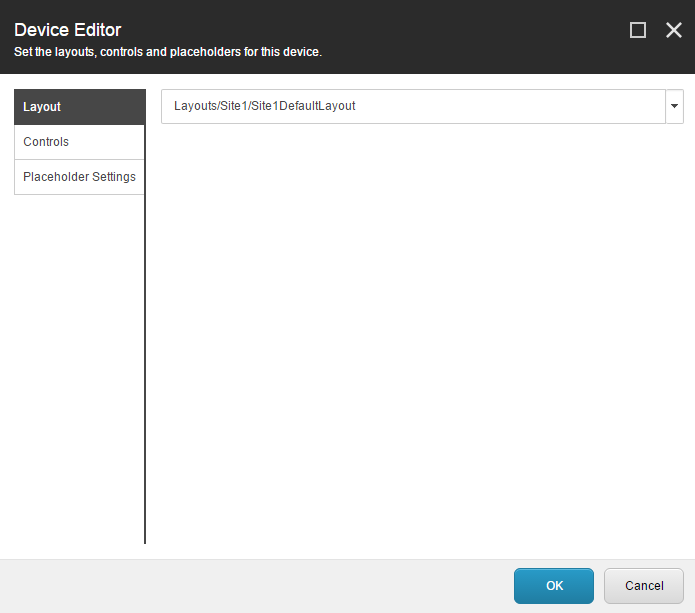 Let's do the same for Site2. Right-click on Site2, select Insert->New Template and name the new template Site2Template. On the builder tab, configure the template with the following fields and click Save:
 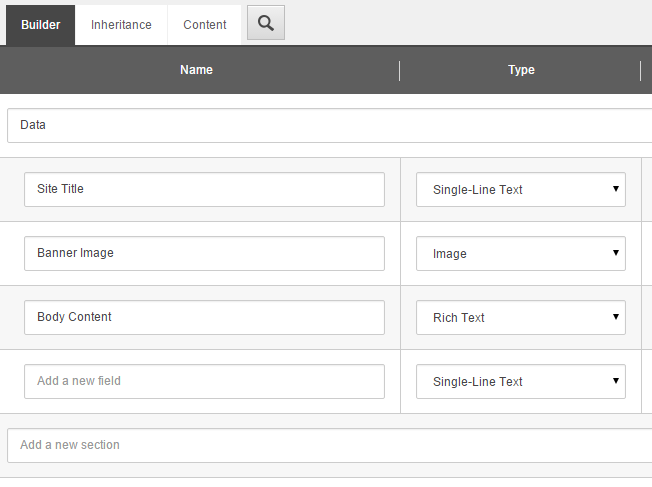 Create a __Standard Values item for this template by clicking on the Options tab in the Ribbon, then click on the Presentation tab, then the Details Button. Let's set the default layout we created earlier. On the Shared Layout tab, click on the Edit link of the Default device. In the Device Editor dialog, on the Layout tab, click the empty dropdown and select Layouts\Site2\Site2DefaultLayout and click OK and OK once more. Creating the Content Right-click on the /sitecore/Content node, select Insert->Insert From Template. In the Insert from Template dialog, select /templates/Site1/Site1Template and name it Site1.
 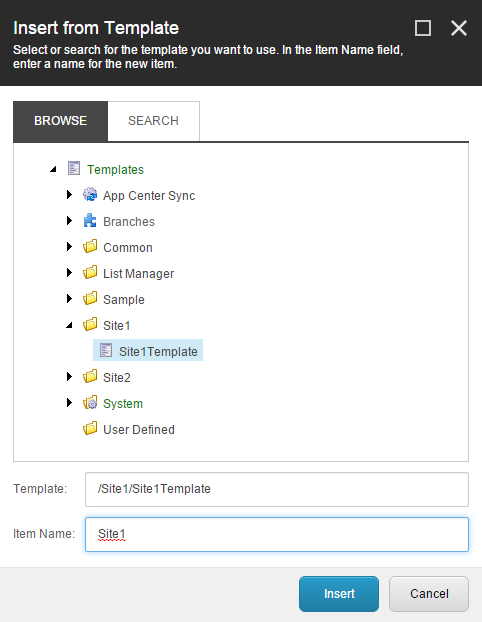 Once that Item has been created, give the Page Title and Image fields values.
 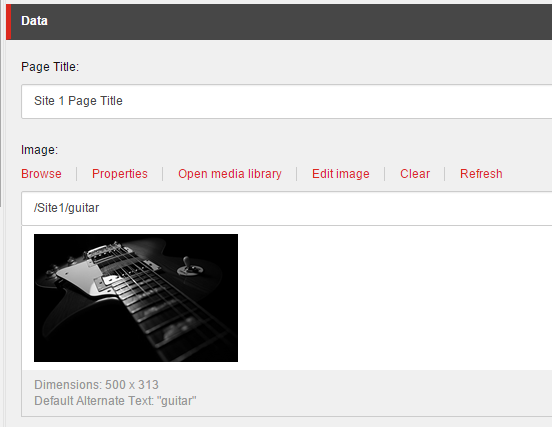 Do the same for Site2 by creating a new content item in /sitecore/Content called Site2. Once created, assign some values to those fields as well. Publish all of your Sitecore changes, then let's move back to Visual Studio... Updating the Visual Studio Solution Now that we have everything in place in Sitecore, let's update the code in our solution. Right-click on the Shared folder in
 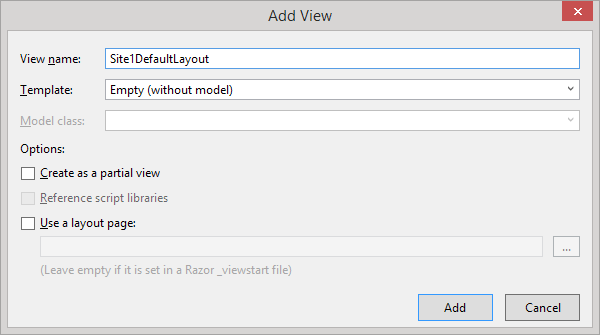 In Site1DefaultLayout.cshtml, paste the following:
@using Sitecore.Mvc
@{
   Layout = null;
}


   @Html.Sitecore().Field("Page Title", new { DisableWebEdit = true })


@Html.Sitecore().Field("Page Title")


      @Html.Sitecore().Field("Image")
Repeat the above steps for creating a new View for Site2 in
@using Sitecore.Mvc
@{
   Layout = null;
}


   @Html.Sitecore().Field("Site Title", new { DisableWebEdit = true })


@Html.Sitecore().Field("Site Title")


      @Html.Sitecore().Field("Banner Image")


         @Html.Sitecore().Field("Body Content")
Configuring the 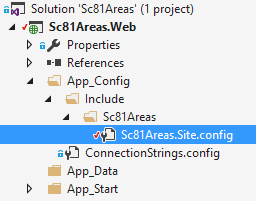 Open this new file and paste in the following configuration:
Notice, in the definitions for sc81areas-site1 and sc81areas-site2, there's a new property for 8.1 called mvcArea. This is the property where you point your site to your new area. Now, all that is left is to publish your code to the web root and test everything out! When I visit http://sc81areas.rbalocal.com, I see: 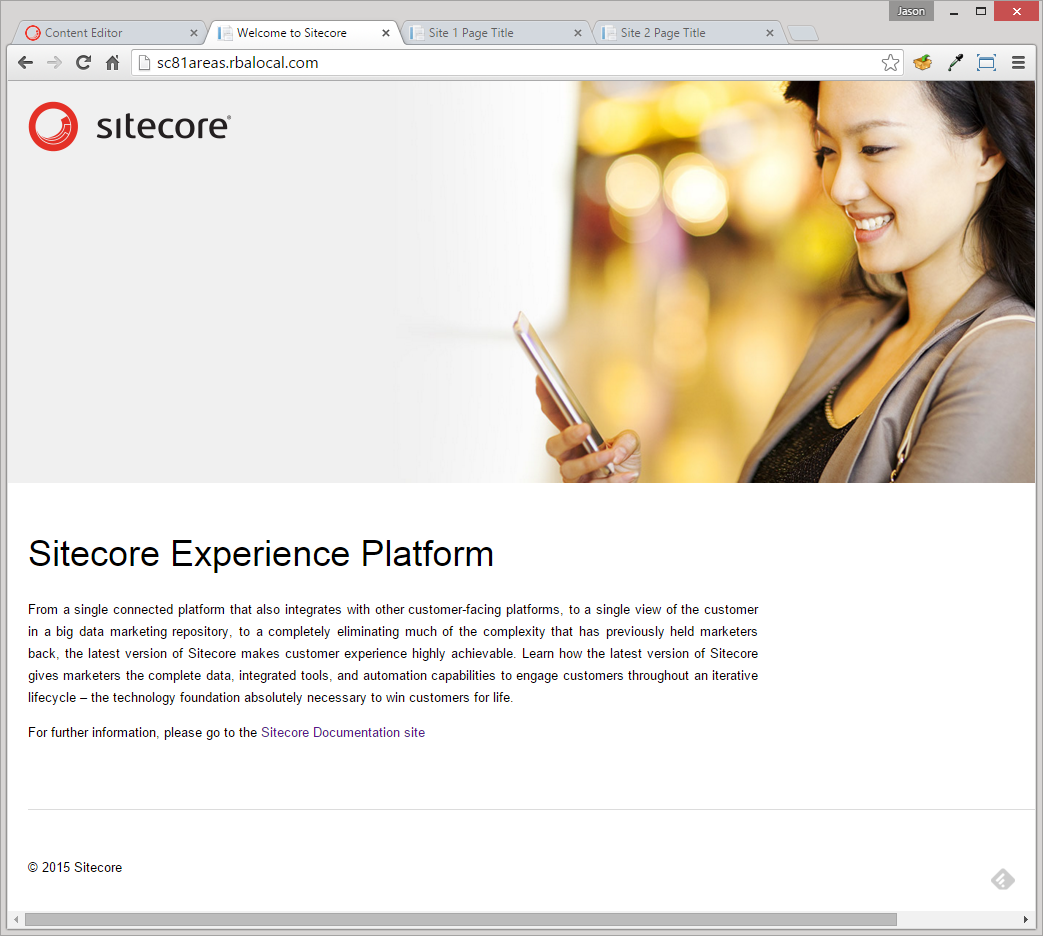 Visiting http://sc81areas-site1.rbalocal.com delivers:
 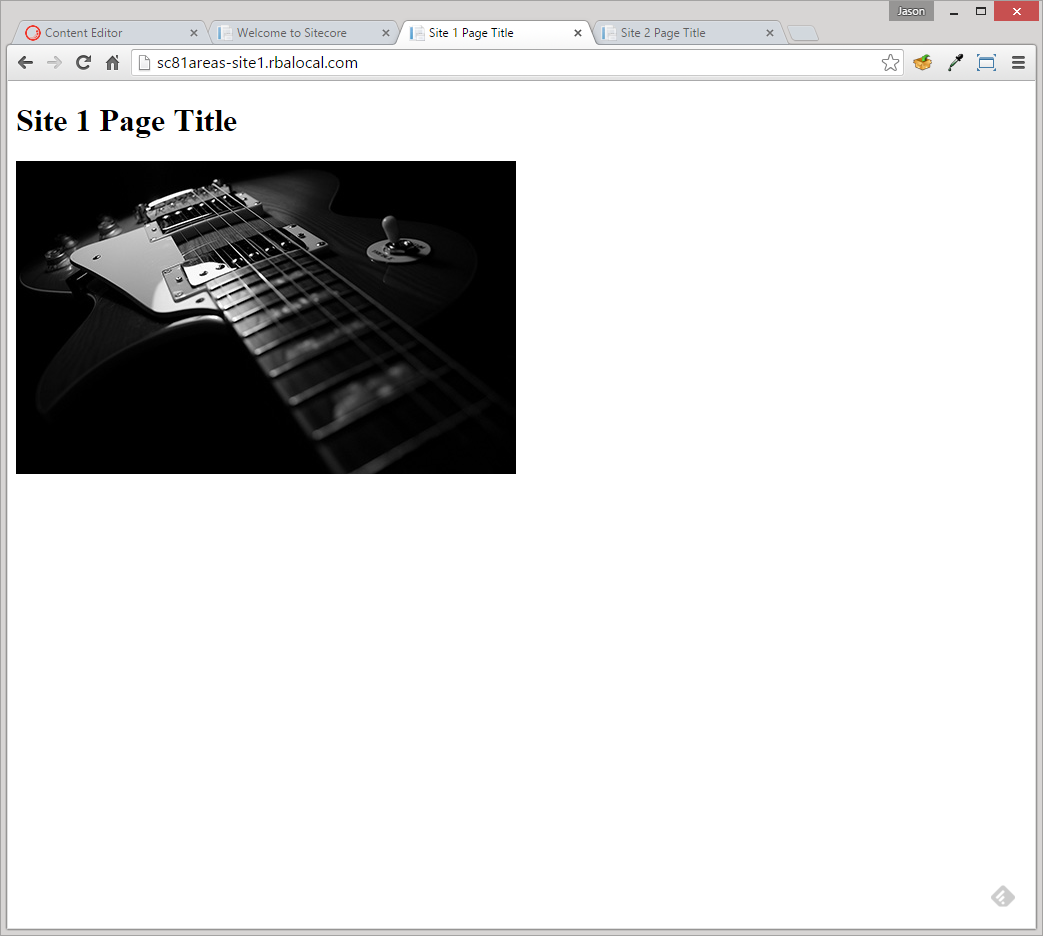 And finally, http://sc81areas-site2.rbalocal.com renders:
 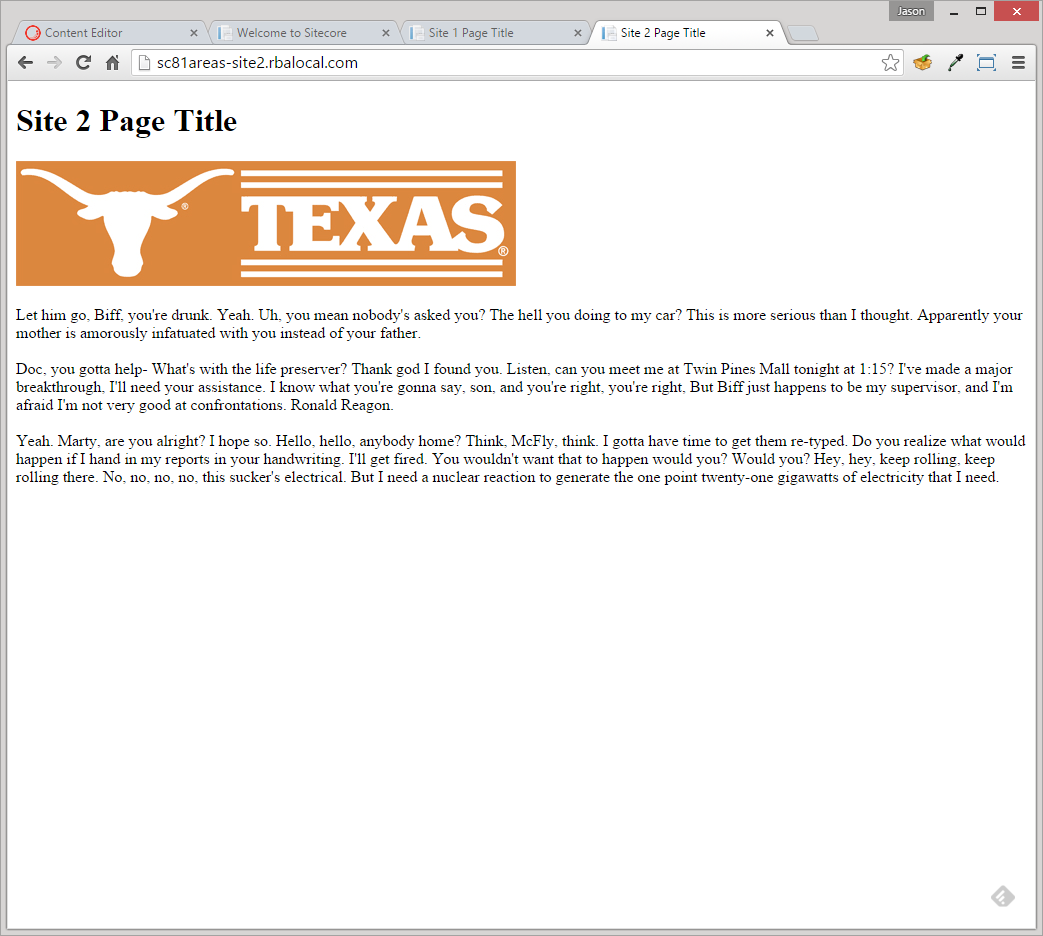 Just as expected! This was a very simple implementation of a multi-site solution in MVC using MVC Areas. In a future post, I'll dive in to adding controller renderings for each area, but also taking advantage of renderings from other areas. The source code for this can be found here. Also, I created a package of the associated Sitecore items and put that in git as well. Happy Sitecore trails, my friends!